1. Start With the Concrete — Before Anything Else
The wood subfloor goes on top of the concrete. But if the concrete isn’t ready, nothing else matters.
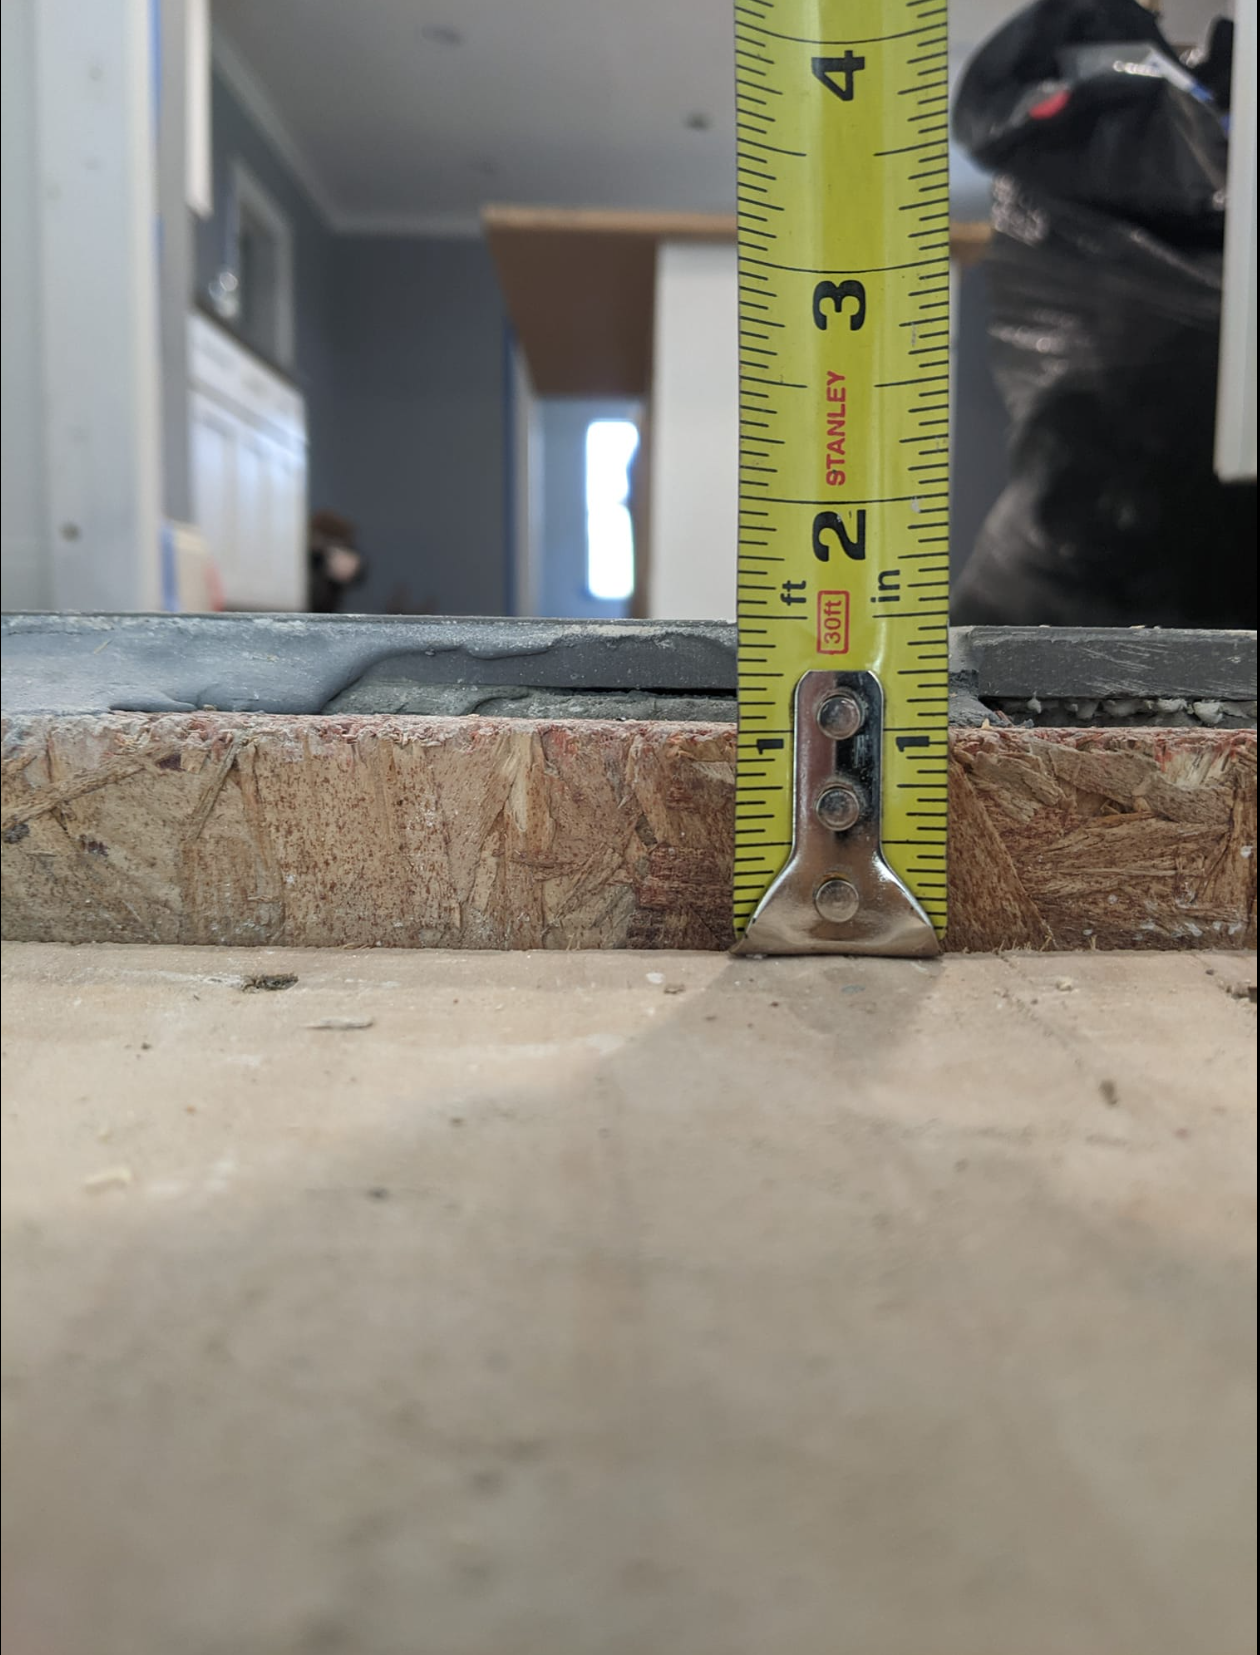
Flatness: The slab must be flat to within 1/8″ in 6 feet or 3/16″ in 10 feet. Measure it. If it’s not flat, grind high spots or fill low spots before proceeding. Installing over an out-of-flat slab is a failure waiting to happen.
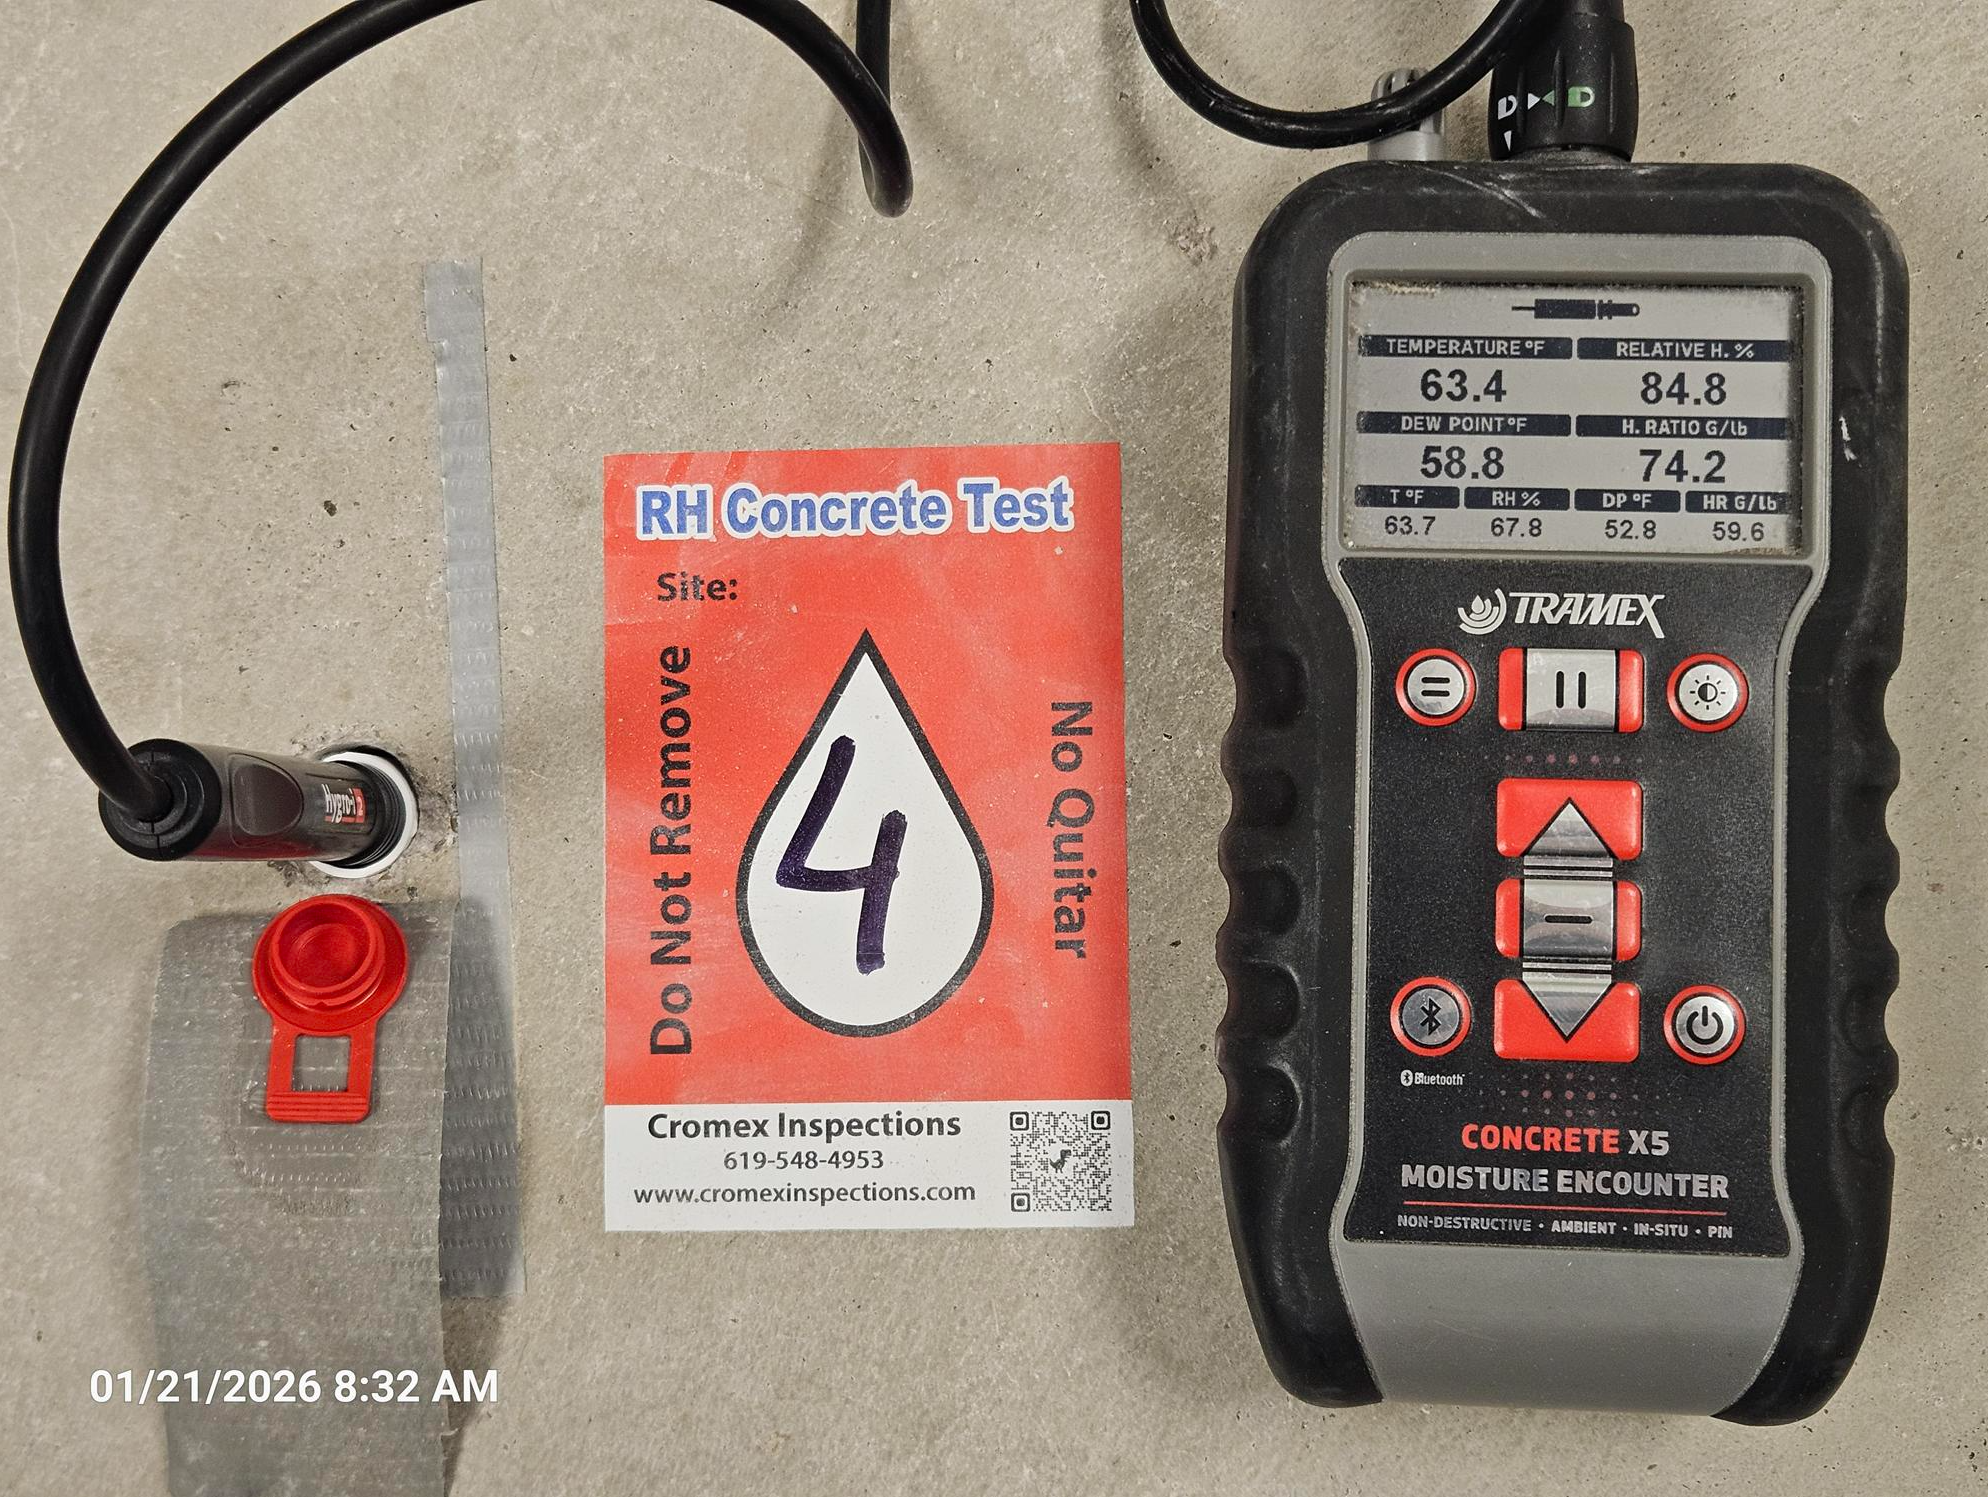
Moisture: This is the big one. Test the slab using one of the following methods:
- Calcium chloride test — results must be 3 lbs or less per 1,000 sq. ft. per 24 hours
- Relative humidity (in-situ probe) — results must be 80% RH or less
- Calcium carbide test — results must be 2.5% or less
If any of these thresholds are exceeded, a Class I impermeable vapor retarder is required. On on-grade and below-grade slabs, a Class I vapor retarder is always recommended regardless of test results — moisture levels in concrete can change over time, and protection after the fact is not an option.
Compressive strength: For glue-down or mechanically anchored systems, the slab must have a minimum compressive strength of 3,000 psi. If you’re on a weak or deteriorating slab, resolve that before installing anything over it.
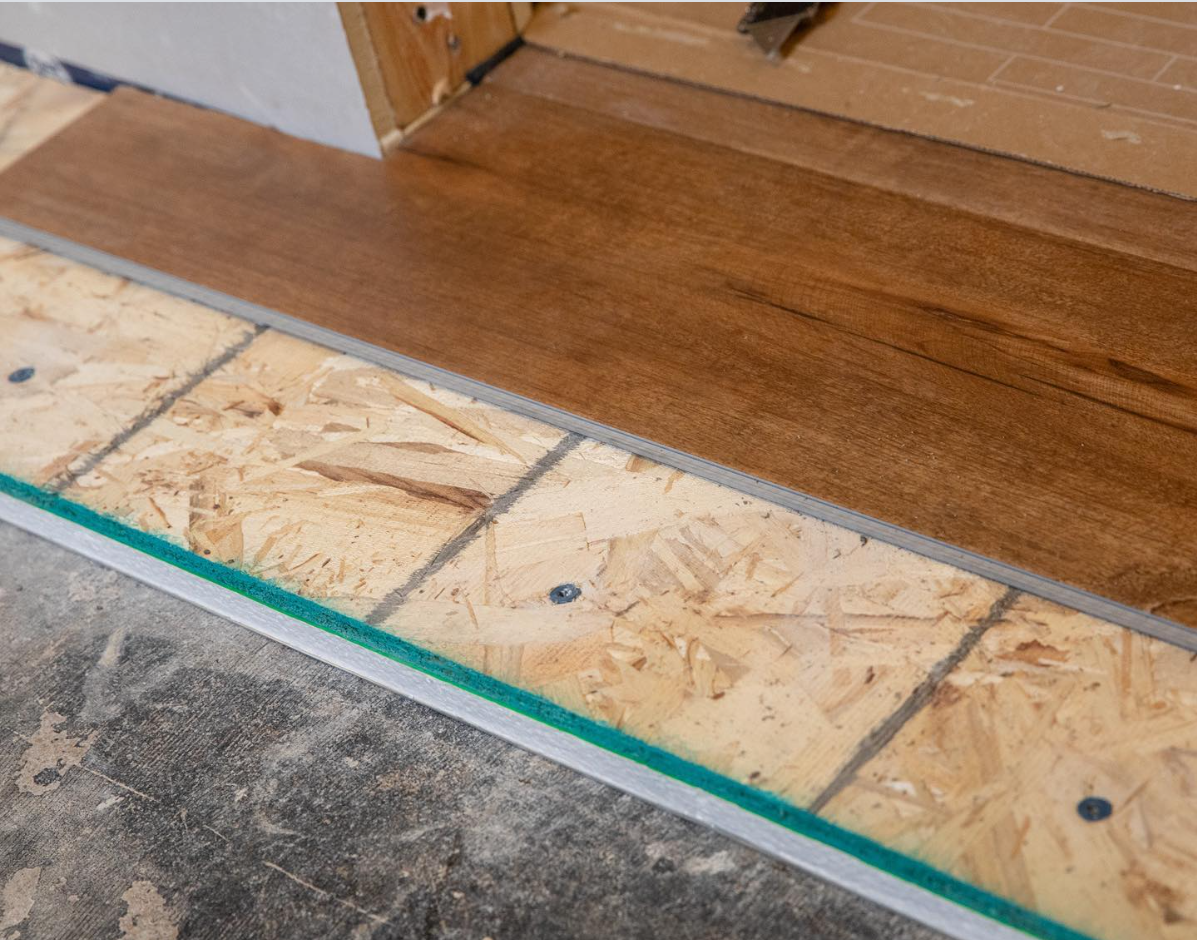
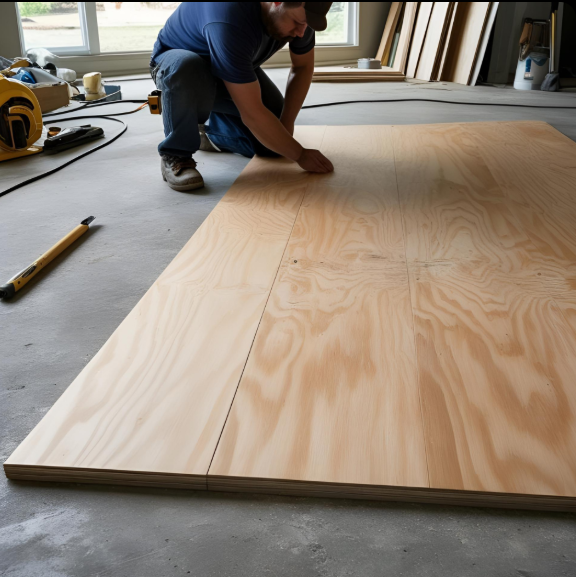
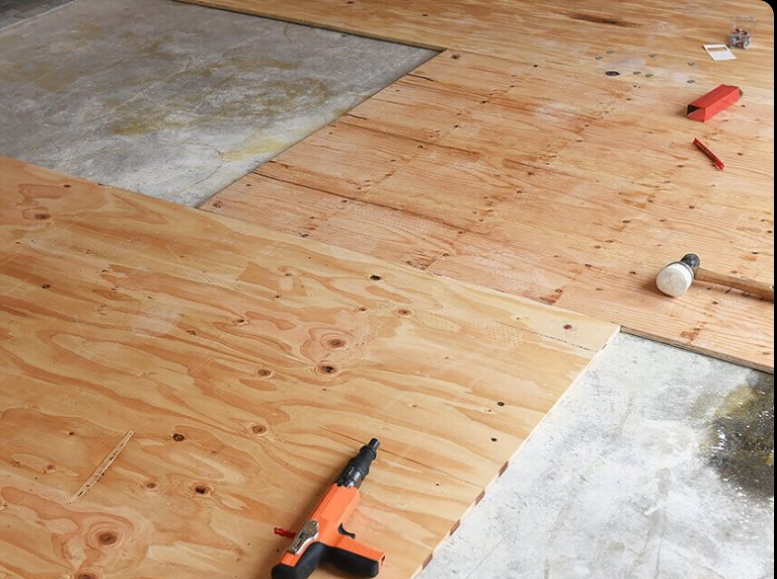
2. Prepare Your Panels Correctly
No matter which installation method you choose, the wood subfloor panels must be properly prepared before they go down.
Acclimation is mandatory. Panels must reach a moisture content that matches the wood flooring being installed on top of them and the conditions of the space. Do not deliver and install the panels on the same day. Measure MC and wait until the numbers are right.
Panel type matters. Use plywood or OSB rated Exposure 1, manufactured to U.S. PS 1 or PS 2 standards. Not all panels are appropriate for subfloor use — verify before purchasing.
Pressure-treated plywood may only be used if it has been kiln-dried after treatment (KDAT). Standard pressure-treated plywood retains excessive moisture and is not acceptable for subfloor use.
3. Know Your Installation Method — The Rules Are Not Interchangeable
This is where most mistakes happen. There are four NWFA-recognized methods for installing a wood subfloor over concrete. Each one has its own set of requirements. Here they are.
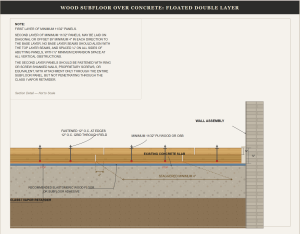
Method 1: Floated Double Layer
What it is: Two layers of panels floating over a vapor retarder — nothing is fastened to the concrete.
Panel specs:
- Minimum thickness: 11/32″ (9.5mm) for both layers
- Panel size: 4×8 sheets
- Type: Plywood or OSB, Exposure 1
Installation requirements:
- Lay the base layer with edges parallel to the wall — do not fasten to concrete
- The top layer must be offset a minimum of 4″ in each direction from the base layer — no seams from both layers should align at any point.
- Leave 1/16″–1/8″ gaps between all abutting panels on all four sides
- Maintain a ¾” minimum expansion gap at all walls and vertical obstructions
- Fasten the top layer at 12″ O.C. along all panel edges and a 12″ O.C. grid through the field
- Use ring- or screw-shanked nails, proprietary screws, or equivalent fasteners only
- An elastomeric wood floor or subfloor adhesive can be applied between the two layers for additional bonding
Vapor retarder: A class I sheet vapor retarder is required when moisture thresholds are exceeded. Always recommended on on-grade and below-grade applications.
Critical reminder: When nailing down the finish floor, account for the total subfloor thickness — do not drive fasteners through the vapor retarder below.
Method 2: Floated Single Layer
What it is: A single layer of panels floating on a vapor retarder — no fasteners, no adhesive. The panels sit freely on the slab.
Panel specs:
- Minimum thickness: 23/32″ (19mm)
- Cut panels to 16″×8′ or smaller pieces
- Kerf the back of each panel 3/8″ deep, every 12″ across the Width — this allows the panel to conform to minor slab irregularities and lie flat. The kerfs face down toward the slab.
Installation requirements:
- Orient the 16″ long axis perpendicular or diagonal to the flooring direction
- Stagger panel joints every 2.’
- Leave 1/8″ spacing on all four sides between abutting panels
- Maintain a ¾” minimum expansion gap at all walls and vertical obstructions
- Zero fasteners of any kind — panels float freely
Vapor retarder: A class I sheet vapor retarder is required at the same thresholds. Must remain completely unbroken — this system has no fastener penetrations.
Critical reminder: The same fastener-length caution applies when installing the finished floor over this system.

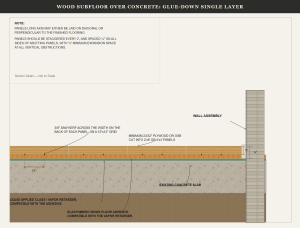
Method 3: Glue-Down Single Layer
What it is: Panels bonded directly to the slab with elastomeric adhesive over a liquid-applied vapor retarder—no mechanical fasteners.
Panel specs:
- Minimum thickness: 23/32″ (18.3mm)
- Cut panels to 2’×8′ or 4’×4′ sections
- Kerf the back of each panel 3/8″ deep on a 12″×12″ grid (both directions) — this is different from the floated single layer, which kerfs across the Width only. The grid pattern maximizes adhesive contact across the full panel surface.
Installation requirements:
- Always follow the adhesive manufacturer’s instructions for moisture limits, trowel notch type, spread rate, and open time — this is not optional
- The adhesive and vapor retarder must be compatible products — verify before purchasing
- Orient 2’×8′ panels with the long axis perpendicular or diagonal to the flooring direction
- Stagger panel joints every 2.’
- Leave 1/8″ spacing on all four sides
- Maintain a ¾” minimum expansion gap at all walls
Vapor retarder: Liquid-applied Class I vapor retarder applied directly to the concrete surface. Must be fully compatible with the adhesive system being used. When in doubt — call the manufacturer.
Critical reminder: Product compatibility between the adhesive and vapor retarder is a common failure point. Always confirm in writing before the job starts.
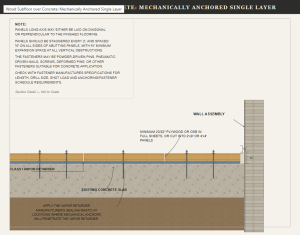
Method 4: Mechanically Anchored Single Layer
What it is: Panels fastened directly to the concrete with mechanical anchors — pins, nails, or screws driven through the panels and into the slab.
Panel specs:
- Minimum thickness: 23/32″ (18.3mm)
- Use full 4’×8′ sheets, or cut to 2’×8′ or 4’×4′ sections
Installation requirements:
- Orient panels with the long axis perpendicular or diagonal to the flooring direction
- Use a staggered joint pattern
- Leave 1/8″ spacing between all abutting panels
- Maintain a ¾” minimum expansion gap at walls and all vertical obstructions
- Acceptable fastener types: powder-driven pins, pneumatic-driven nails, screws, deformed pins, or other fasteners rated for concrete
- Always check with the fastener manufacturer for required specifications — length, drill size, shot load, and anchoring schedule.
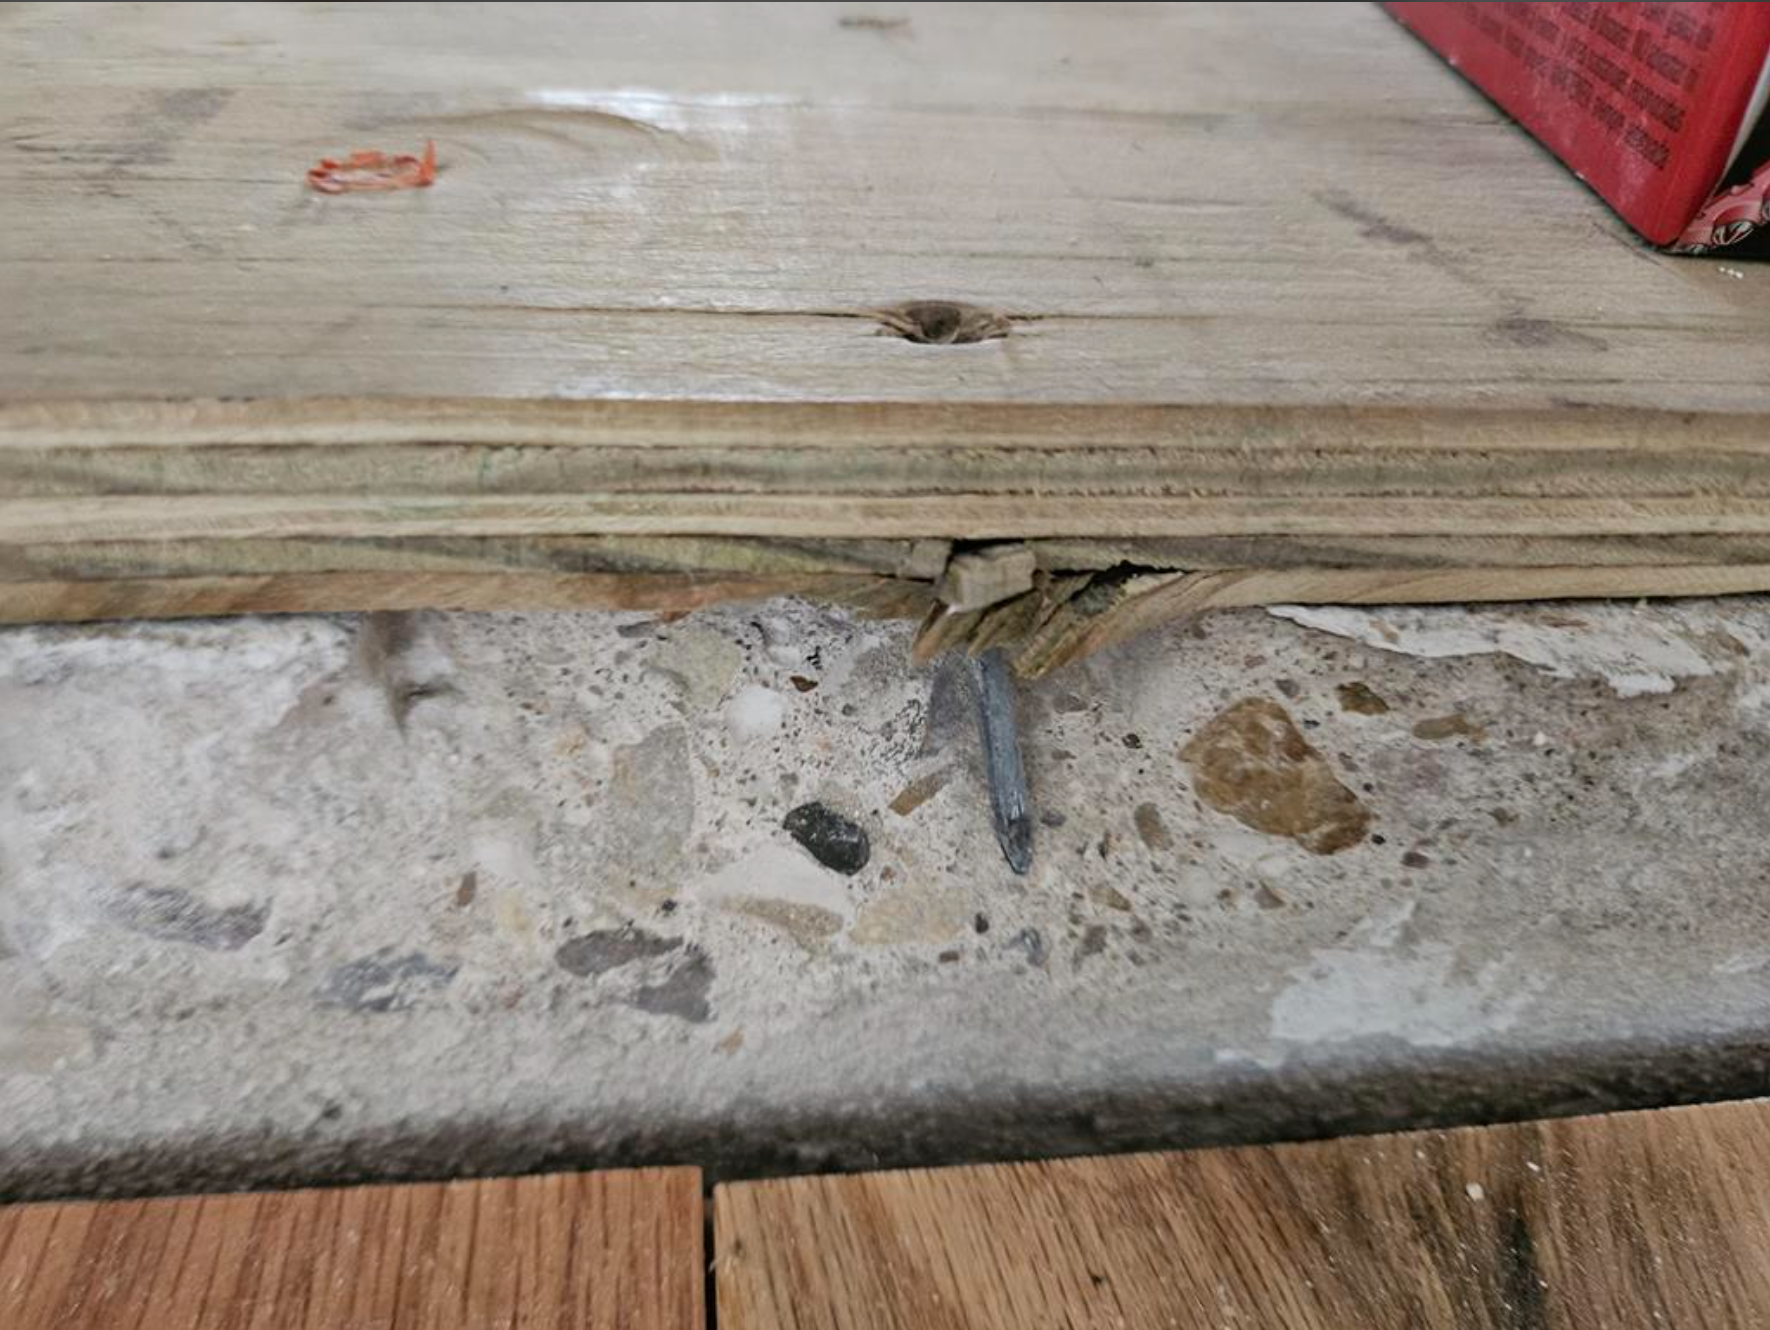
Vapor retarder: A Class I impermeable vapor retarder is always recommended. This is the highest-risk system for vapor retarder integrity — because fasteners physically penetrate the vapor retarder, every single penetration point must be sealed.
Critical step — do not skip: Apply the vapor retarder manufacturer’s sealing mastic at every anchor penetration point. Unsealed holes create a direct moisture path into the wood subfloor system. This is the most commonly missed step in mechanically anchored installations and a leading cause of moisture-related claim denials.
4. Quick Reference — Key Numbers for Every Method
| Requirement | Spec |
|---|---|
| Slab flatness | 1/8″ in 6′ or 3/16″ in 10′ |
| Slab compressive strength (glue/anchor) | 3,000 psi minimum |
| Vapor retarder trigger — calcium chloride | Greater than 3 lbs |
| Vapor retarder trigger — relative humidity | Greater than 80% RH |
| Vapor retarder trigger — calcium carbide | Greater than 2.5% |
| Panel thickness — floated double layer | 11/32″ (9.5mm) each layer |
| Panel thickness — floated single layer | 23/32″ (19mm) |
| Panel thickness — glue-down | 23/32″ (18.3mm) |
| Panel thickness — mechanically anchored | 23/32″ (18.3mm) |
| Panel gap on all sides | 1/8″ |
| Expansion gap at walls | 3/4″ minimum |
| Saw kerf depth | 3/8″ |
| Kerf spacing — floated single layer | Every 12″ across Width only |
| Kerf spacing — glue-down | 12″×12″ grid — both directions |
| Fastener spacing — double-layer top panel | 12″ O.C. edges and field grid |
5. Documentation — Protect Yourself on Every Job
Following the standard is only half the job. Proving you followed it is the other half.
On every wood subfloor over concrete installation, document the following before the first panel goes down:
- Slab moisture test results — method used, readings, date, location
- Slab flatness measurements
- Panel moisture content readings
- Which installation method was used and why
- Vapor retarder type and brand installed
- Adhesive brand and trowel notch used (glue-down)
- Photos of each layer before covering
Without this documentation, a claim denial is difficult to fight — even when the installation was done correctly.
The Bottom Line
A wood subfloor over concrete is not a one-size-fits-all installation: four methods, four sets of rules, and zero tolerance for guessing.
The NWFA is clear on what each system requires. The slab must be flat, tested, and dry. The panels must be acclimated. The vapor retarder must be intact. And every step must be documented.
Do it right, document it properly, and you’re protected. Skip any one of these steps — and you’re exposed.
Article based on NWFA Wood Flooring Installation Guidelines and published by Prova Docs — The Professional Documentation Library for the Flooring Industry. Visit http://www.provadocs.com for more installation standards, checklists, and field guides.